GatwickGaz
Standard Member
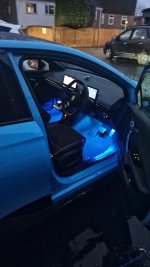
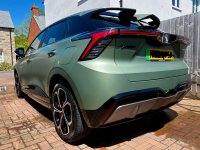
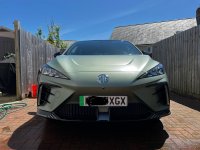
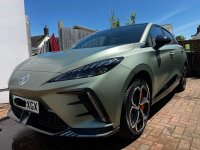
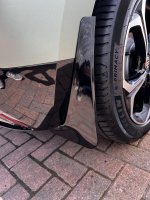
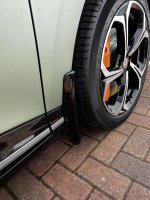
Thanks. The dealer in Crawley West Sussex arranged it with some local firm. I can find out the details if the location is any good for you. They said it was £200 incl, which is what I paid but when I dropped it off (they couldn’t do it when the car was delivered) they said the price had gone up to £270 but they would honour the £200. So that saved an argumentWasn't sure initially but now think it looks great. Where did you get it done and what sort of ££ was it?
")

")